How to create a testing environment for Revit

Virtualizing Windows for a Clean Testing Environment: A Guide for Revit App Developers
Introduction
In the dynamic world of software development, particularly for complex applications like Autodesk Revit, ensuring the consistent performance and reliability of your app across different user systems is crucial. A common challenge developers face is the “it works on my machine” syndrome. This issue arises when an app performs flawlessly on the developer’s computer, which is often equipped with various libraries, dependencies, and specific configurations, but encounters problems on a user’s machine that lacks these elements.
To mitigate this, virtualizing a Windows environment for a clean, controlled testing space is invaluable. This article explores how virtualization ensures your Revit apps are robust, user-friendly, free from unforeseen errors, and guides you through setting up such an environment using different methods.
1. Virtual Machine Software: VMware, VirtualBox, and Hyper-V Virtual machines (VMs) are a popular choice for developers. They emulate a complete computer system, allowing you to install and run Windows and your Revit apps in an isolated environment.
- VMware Workstation and Oracle VM VirtualBox are two widely used tools. They both support creating multiple VMs, each with different configurations, mimicking various user environments.
- Microsoft Hyper-V is another robust option, especially for developers using Windows 10 Pro, Enterprise, or Education editions. Hyper-V integrates well with the Windows ecosystem, offering an efficient virtualization solution.
Here’s how to set up a VM for Revit app testing:
- Install VirtualBox.
- Create a new VM and allocate resources like CPU, memory, and disk space.
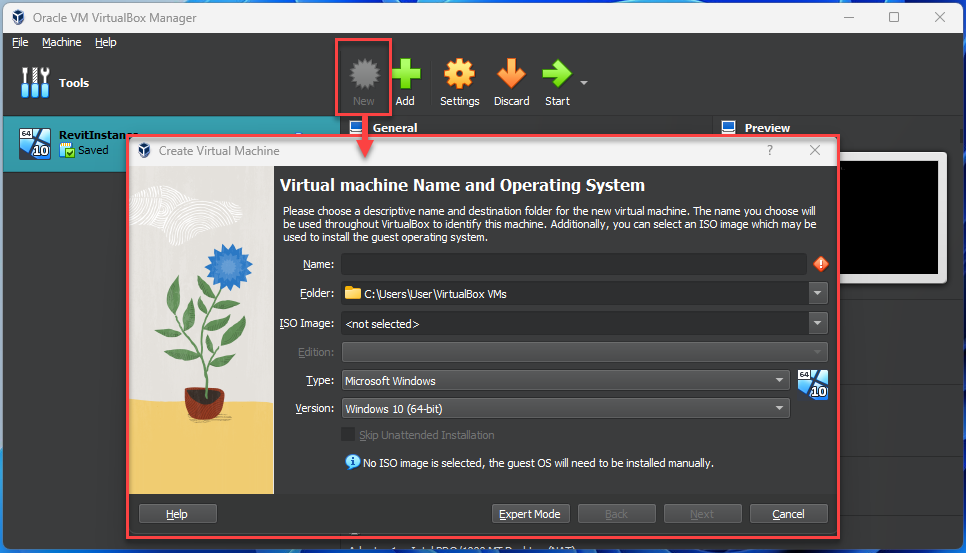
It is important to have an ISO image with Windows to use for the install. You can use the instructions Here to do it
- Install Revit and your Revit App
For this step, we have uploaded the whole Revit Installer to an S3 bucket so you can download it and automatically install it using the PowerShell Script below:
Invoke-WebRequest -Uri "https://s3.amazonaws.com/www.everse.co/Revit2024.exe" -OutFile "Revit2024.exe"; Start-Process "./Revit2024.exe" -ArgumentList "-q"
2. Cloud-based Virtual Machines: Azure, Amazon EC2, Google Cloud If your local machine lacks the resources for VMs or you want to have multiple computers at the same time, cloud-based solutions like Microsoft Azure, Amazon EC2, or Google Cloud are excellent. These platforms provide scalable, on-demand virtual machines.
We like Amazon the most, so you can follow the steps below
- Login into your AWS account
- Go to the EC2 section and click on launch instance

3. Create an EC2 and make sure it is configured with the following data:
- OS: Windows 2022
- Instance Type: t3.xlarge (Smaller than this will result in Revit not even opening)
- Volume Size: 100GB (More than enough for Windows, Revit, and the addin that you will be installing)
- Create a New KeyPair and save the file on your computer
- Allow RDP traffic from: Anywhere (Make sure it’s enabled)
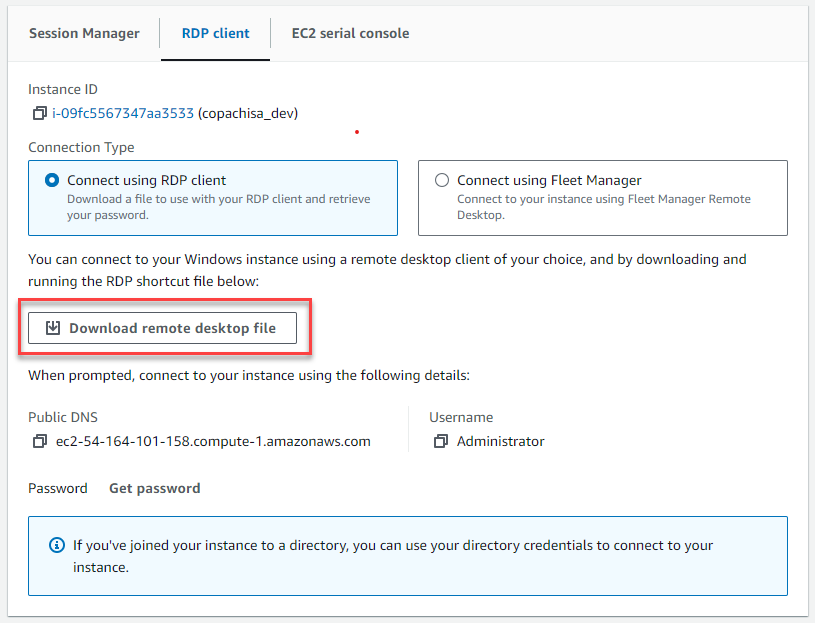
4. Access the EC2. For this, after launching the instance, select the instance and click on connect. Then select RDP client. First, download the “remote desktop file”.This is the file to access the remote computer.
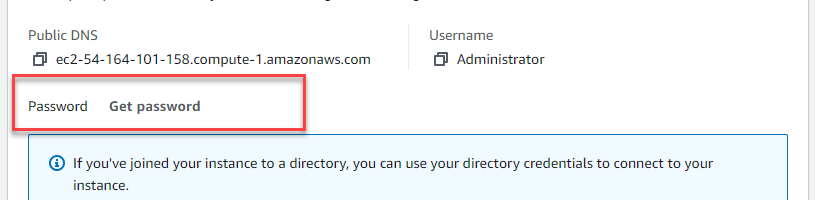
5. Click on get password. Here, you have to upload the Keypair from the installation to retrieve the password to use it on the remote access.
6. Install Revit. You can either do it manually or using the PowerShell script that we provided on the VirtualBox step
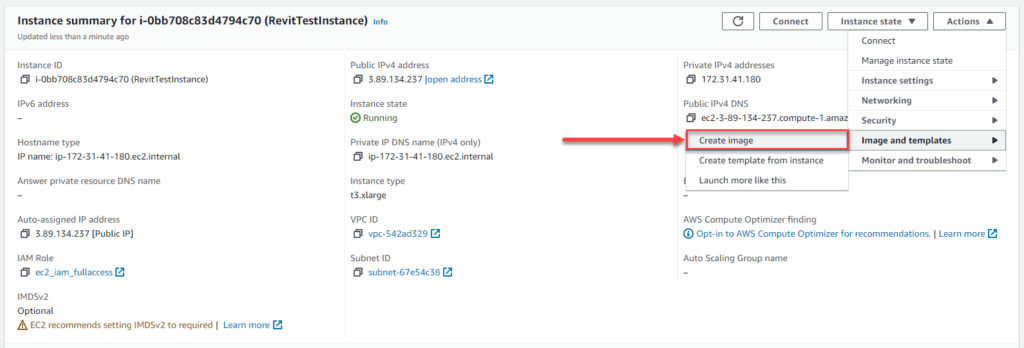
7. This is optional, but you create an AMI based on this computer. An AMI is a computer template, so in the future, instead of having to reconfigure everything back again, you can just call this template, and the computer will be initiated including Revit. You can also create as many templates as you want with different programs that you need.
If this process seems a little bit long and stressful, you can save time by doing the following:
A. Use Terraform (An infrastructure-as-code software tool). It’s as simple as installing it and running a command to create an EC2 automatically. We have even created a template for you below:
					provider "aws" {
  region = "us-east-1"  # You can choose your preferred region
}

data "aws_security_group" "existing_sg" {
  name = "RevitTestInstance"  # Replace with the actual name of your security group
}

data "aws_iam_role" "existing_role" {
  name = "ec2_iam_fullaccess"  # Replace with the actual name of your IAM role
}

resource "aws_instance" "example" {
  ami           = "ami-003d54724445be9807"  # AMI ID of a windows server 2022 instance and Revit 2024 installed
  instance_type = "t3.xlarge"    # Smaller instances than this cannot run Revit properly

   root_block_device {
    volume_type = "gp2"  # General Purpose SSD
    volume_size = 100     # Size in GiB
  }

  iam_instance_profile = data.aws_iam_role.existing_role.name # Name of Iam role created as default

  vpc_security_group_ids = [data.aws_security_group.existing_sg.id] # Name of a keypais we have as default

  key_name = "RevitTestInstance"  # Name of a keypair we have as default

  tags = {
  Name = "RevitTestInstance"
  }
  # Other required configurations like security groups, key pairs, etc.
}
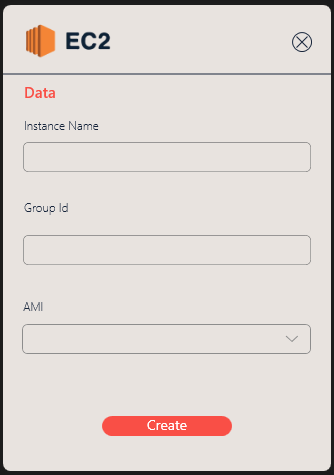
B. We have created a simple desktop application to create an EC2 automatically. You can access to use it Here
3. Dual Boot Setup A dual boot configuration allows you to install two operating systems on the same computer. While not a typical virtualization technique, it offers a clean, dedicated Windows environment for testing.
Requirements:
- Windows Installation Media: You need an installation media for the Windows version you want to install (like a DVD or a bootable USB drive). You can create a bootable USB using tools like Rufus or the Windows Media Creation Tool.
- Sufficient Hard Drive Space: Ensure you have enough free space on your hard drive to create a new partition for the second OS.
- Backup: Back up all important data.
Steps to Create a Dual Boot Setup:
Step 1: Prepare a New Partition
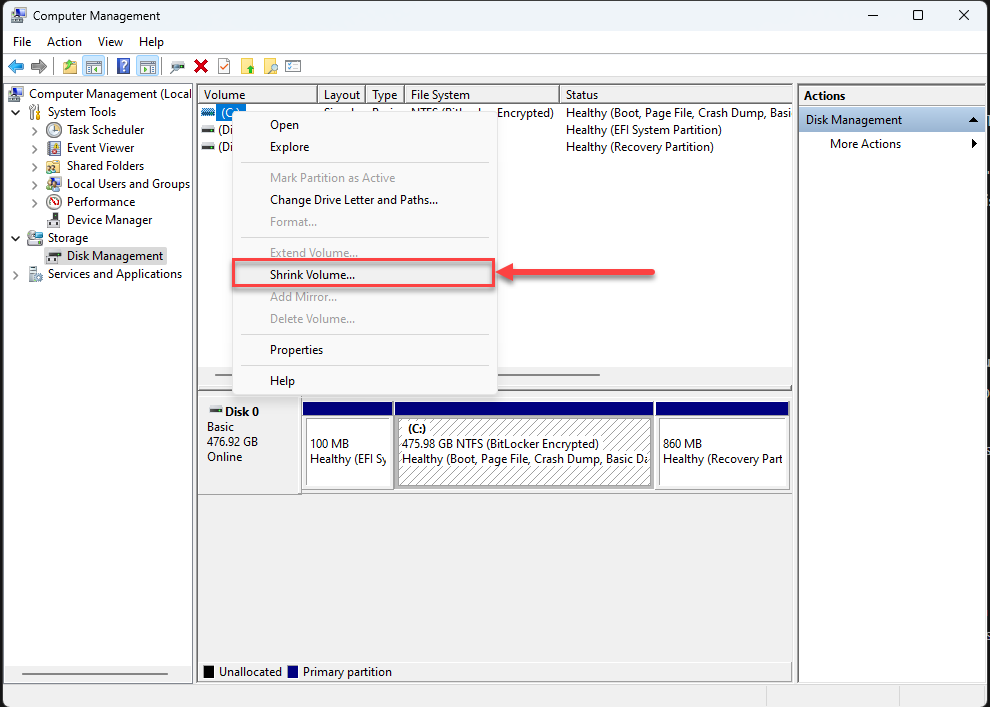
- Open Disk Management: Right-click on ‘This PC’ or ‘My Computer’ and select ‘Manage’. Then go to ‘Disk Management’.
- Shrink Volume: Right-click on the existing partition (usually C:) and select ‘Shrink Volume’. Decide how much space to allocate to the new partition (for Windows, at least 30-40 GB is recommended).
4. Create New Volume: Right-click on the new unallocated space and create a new volume. Follow the wizard to format and assign a drive letter.
Step 2: Install the Second Windows
- Insert Installation Media: Insert your Windows installation media and reboot your computer.
- Boot from Media: On startup, enter the BIOS/UEFI settings (usually by pressing F2, F12, Del, or Esc, depending on your PC). Set the boot order to start from your installation media.
- Install Windows: Follow the installation prompts. When asked where to install Windows, select the new partition you created. Do not format or delete other partitions.
- Complete Installation: Follow the on-screen instructions to complete the installation.
Step 3: Setting Up the Boot Loader
- Windows Boot Manager: After installation, your PC should automatically take you to the Windows Boot Manager when it starts up, where you can choose which operating system to boot. If it doesn’t, you might need to use tools like EasyBCD or Windows recovery options to repair the boot manager.
Step 4: Finalizing Setup
- Boot into Both Systems: After installation, boot into both systems one after the other to ensure they work correctly.
- Install Drivers and Updates: Ensure each operating system is fully updated and has all necessary drivers installed.
- Finally, install Revit, and you are done!
We suggest that you use Windows restore or some other third-party solution to remove all files that were added during the session to keep the testing environment clean.
4. Windows Sandbox For quick, lightweight testing, Windows Sandbox is ideal for those using Windows 10 Pro or Enterprise. It provides a temporary, isolated desktop environment.
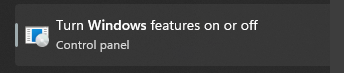
A. Search “Turn Windows features on or off” in your start panel
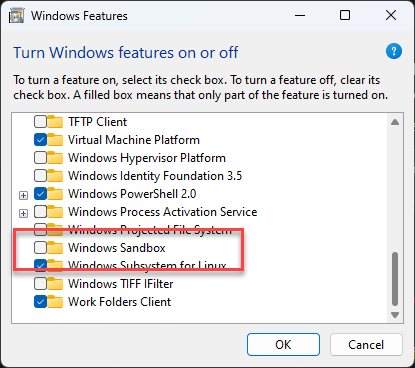
B. Select Windows Sandbox
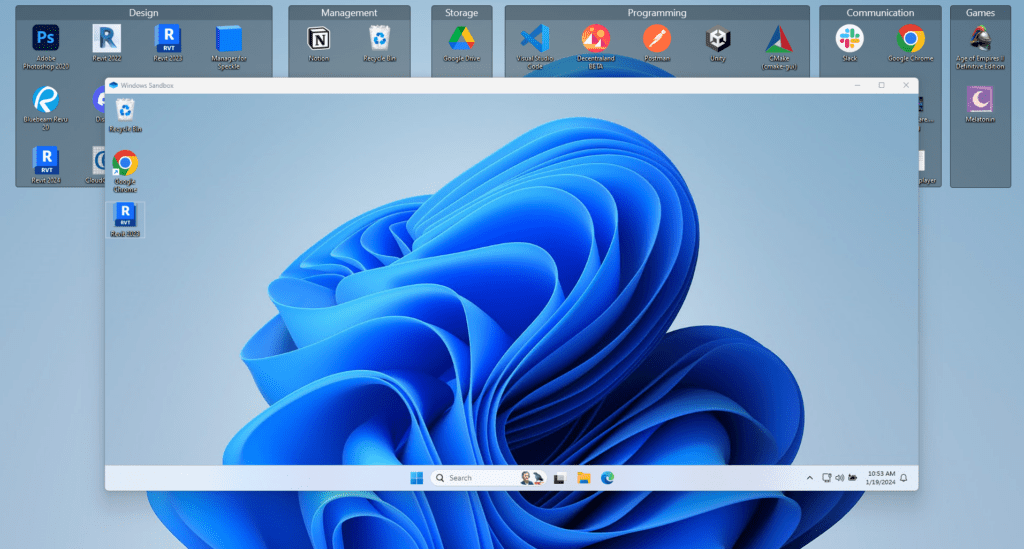
C. Launch Sandbox and you’ll have a clean Windows desktop.
D. You will have to install Revit on each session as the data is nonpersistent, so it’s not the best option.
Comparison
We have gone through four different options to create a testing environment. Now let’s compare them in terms of performance, cost, time to set them up, and persistence of data
| Solution | Cost | Platform | Time to configure | Persistence data | Performance |
|---|---|---|---|---|---|
| VirtualBox | Free | Local | 60–90 min | Yes | Varies by computer |
| Cloud-Based Virtual Machines | U$S 0.1670 / Hr | Cloud | 10 minutes | Yes | Great perfomance by using a t3.xlarge |
| Dual Boot Setup | Free | Local | 70–90 min | Yes | Varies by computer |
| Windows Sandbox | Free | Local | 35–55 min | No | Varies by computer |
Conclusion
Virtualizing a Windows environment for testing Revit apps is a best practice that significantly enhances the reliability and user experience of your software. Whether you choose a full virtual machine, cloud-based VMs, a dual boot setup, Windows Sandbox, or Docker containers, each method offers unique benefits to suit your specific testing needs. By investing time in setting up a virtual testing environment, you’re committing to quality and ensuring that your Revit apps meet the highest standards of functionality and user satisfaction.
In our case, we rely mostly on Cloud-Based Virtual Machines because they provide a scalable solution without worrying about the user’s computer power, but if you are not developing tools at scale, you might want to choose either a VirtualBox or a Dual Boot Setup.
We hope you liked this post, and let us know how you handle testing environments!

Valentin Noves
I'm a versatile leader with broad exposure to projects and procedures and an in-depth understanding of technology services/product development. I have a tremendous passion for working in teams driven to provide remarkable software development services that disrupt the status quo. I am a creative problem solver who is equally comfortable rolling up my sleeves or leading teams with a make-it-happen attitude.