AI Image Generator in Architecture: Revolutionizing Design Workflows
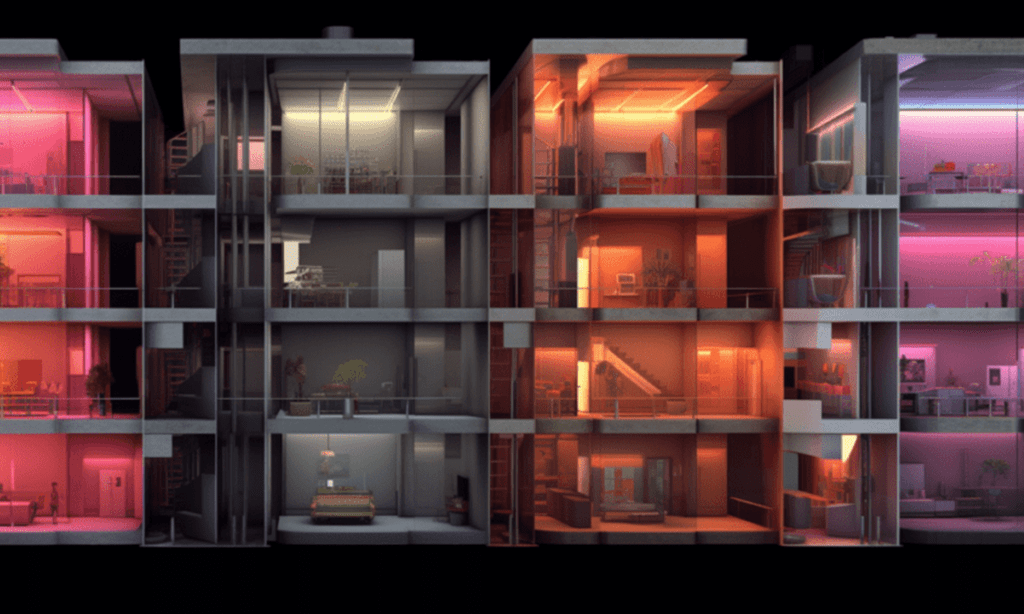
Your AI Image Generator Model
Let’s dive into Generative Artificial Intelligence, a space where new things are always happening. We all know it’s easy to feel lost with many new ideas daily. Even in the down-to-earth construction industry, we have handy tools like Veras that improve architectural workflows. These tools can help us use AI models to generate renderings based on any AEC 3D software snapshot.
But here we will cover beyond what’s going on with AI. If you want to learn more, you can check our article, Will AI replace architects in the Future? Instead, we’ll focus on how you can make and use your AI model. We’ll show you how to set it up and use it in different situations. Ready to learn something new?
How to Start Your AI Generator
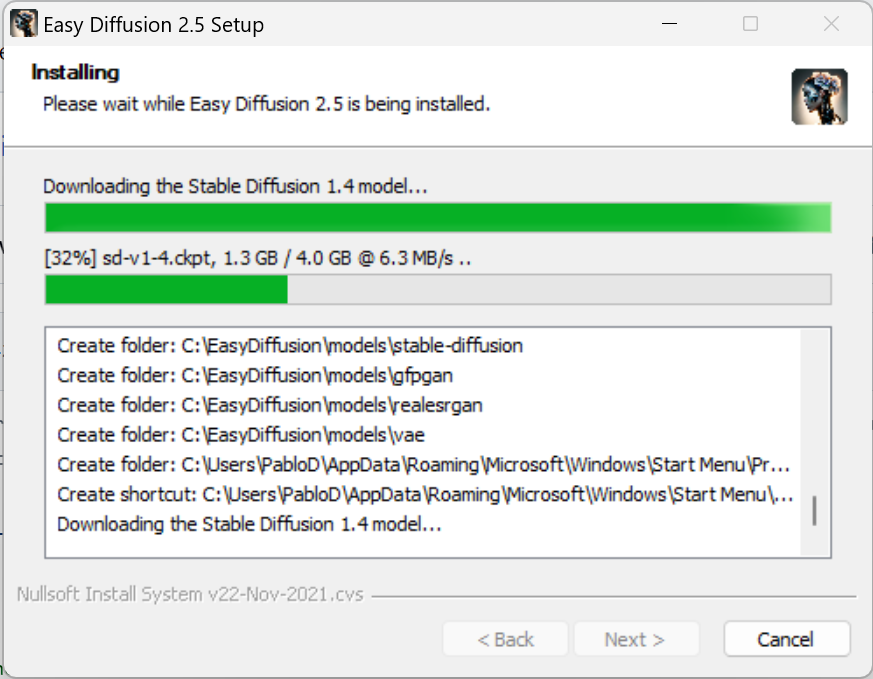
Creating your AI image generator could be highly complex a few years or even months ago. These days, engineers from Stable Diffusion provide an open-source model, easy for everybody to implement with Easy Diffusion. This model offers a ready-to-go package including all you need to run it on your computer. You have to follow the steps below:
- Go to Easy Diffusion website
- Download the tool by selecting your OS (Linux, Windows or MacOS)
- Install the Downloaded file
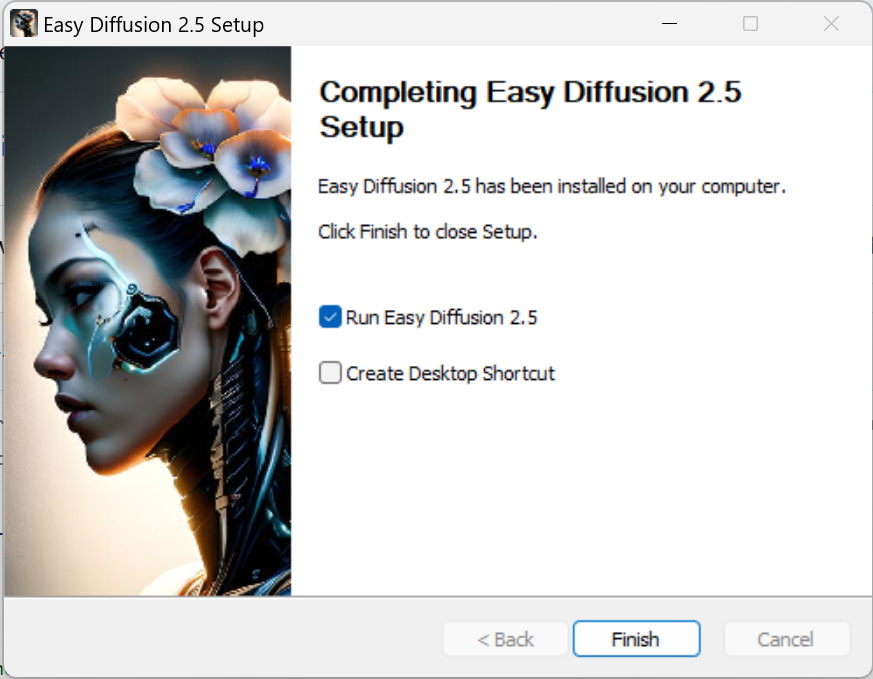
- Run Easy Diffusion
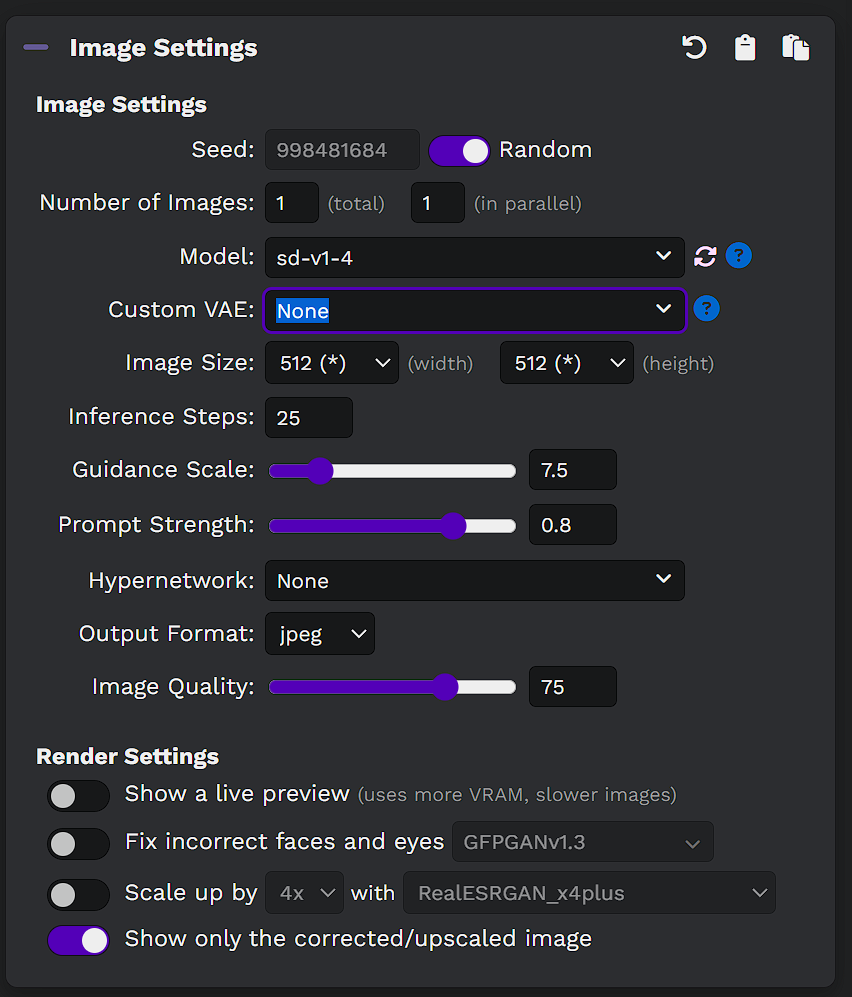
Set up the values you want to use in the settings menu. Notice that the program comes with a default model called sd-v1-4. We’ll try a different one later.
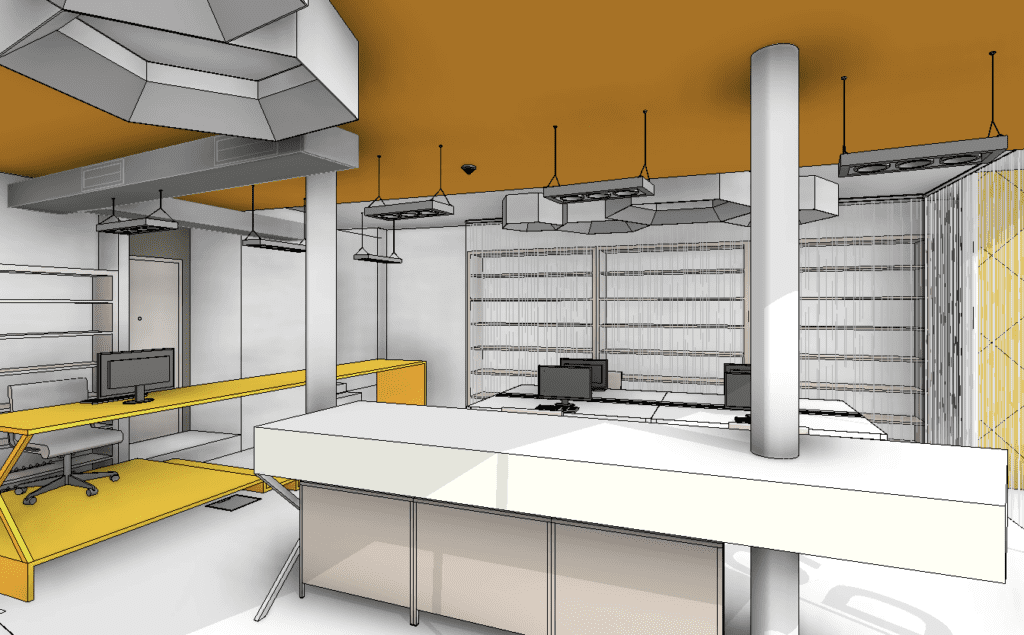
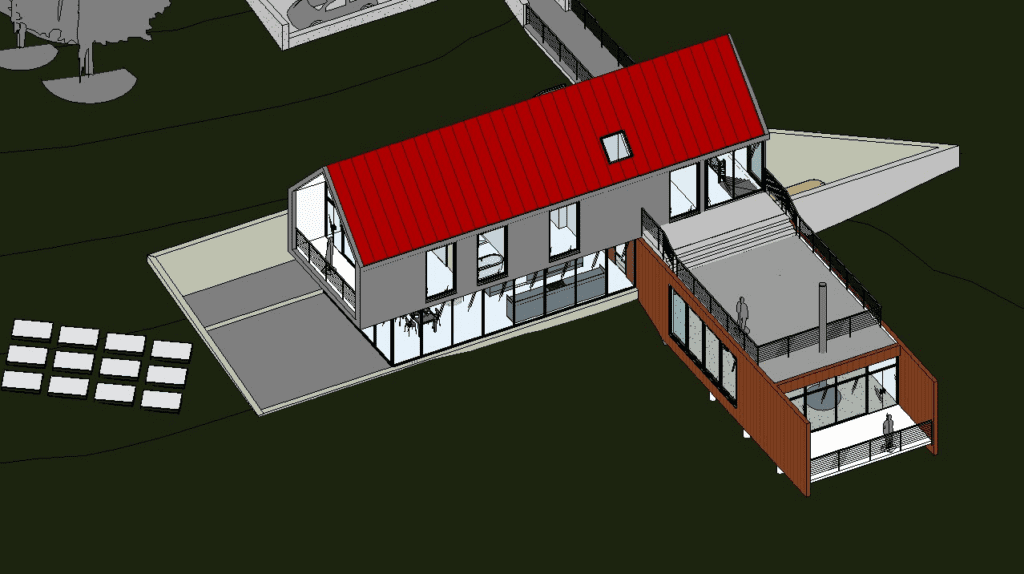
Upload an image. It can be a sketch or a Revit snapshot, as in the image below.
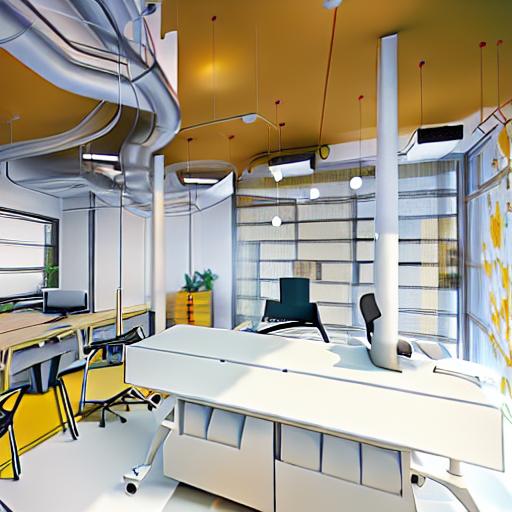
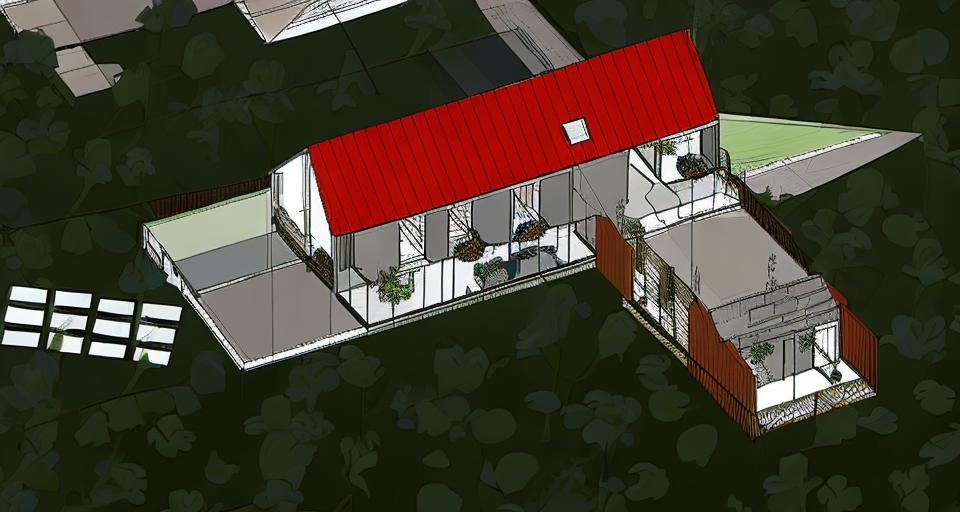
As a result, you might end up with something like the image below. Notice that, although the result isn’t entirely off, it’s not great. Many elements don’t even look real.
How to Change The AI 3d Model Generator to Improve Results
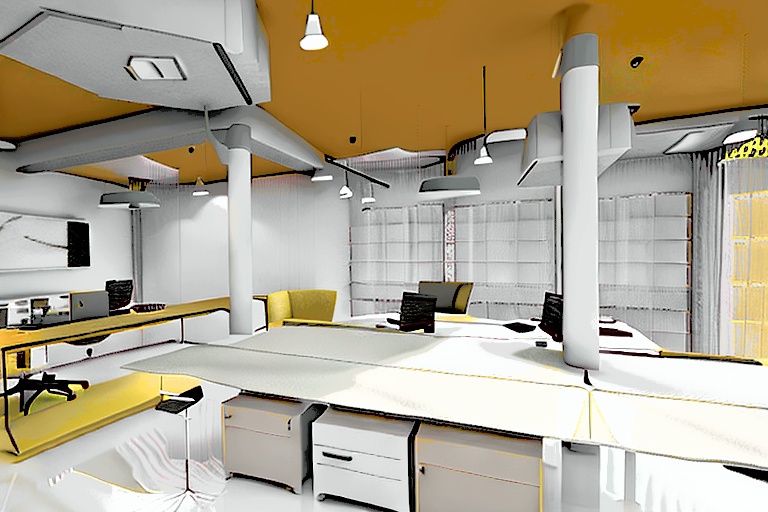
We recommend you download a more updated model from Huggingface to improve results. We suggest the “v2-1_768-nonema-pruned.ckpt”
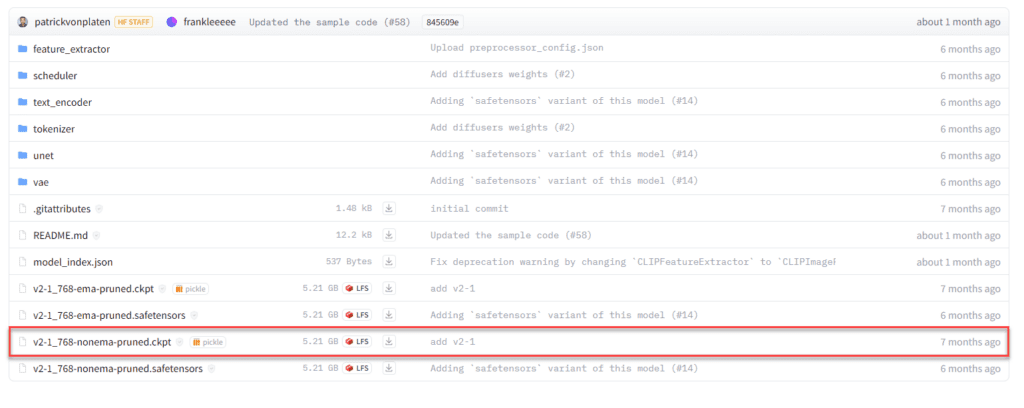
Then place it in C:\\EasyDiffusion\\models\\stable-diffusion or in the default folders that you chose to install Easy Diffusion
We tried the same image with the same text prompt, and as you can see, we got a much better result:
Configurations to Enhance the AI powered Process
There are some tips and tricks that we recommend besides changing the model. For example, I often play with the “prompt strength.” This controls how much strength the AI model generator will give to the prompt compared to the image, which can vary depending on how much you want to preserve the original image.
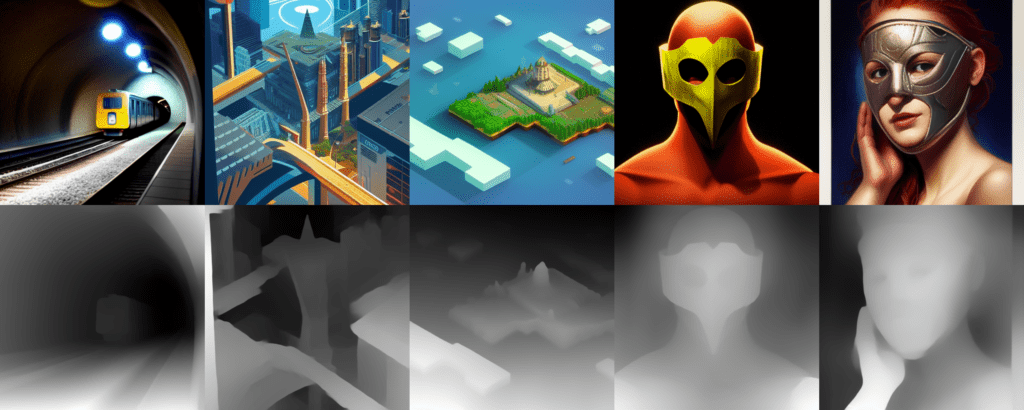
Another crucial part of the process is the input image type. AEC professionals may go with a sketch or a snapshot from programs like Revit or Rhino, but other creative options exist, such as using a depth map, an image that contains information relating to the distance of the surfaces of scene objects from a viewpoint, this allows users to maintain the point of view and relationships between the parts but change the style in any desired way.
Another exciting process is the reverse image prompt generator. You might have seen an attractive image and want to know which text prompt generated it. To do this, you can use Clip Interrogator, a tool that will return a prompt when fed with an image.
After you get the prompt, you can use it as input for Easy Diffusion and generate a variation of the picture.
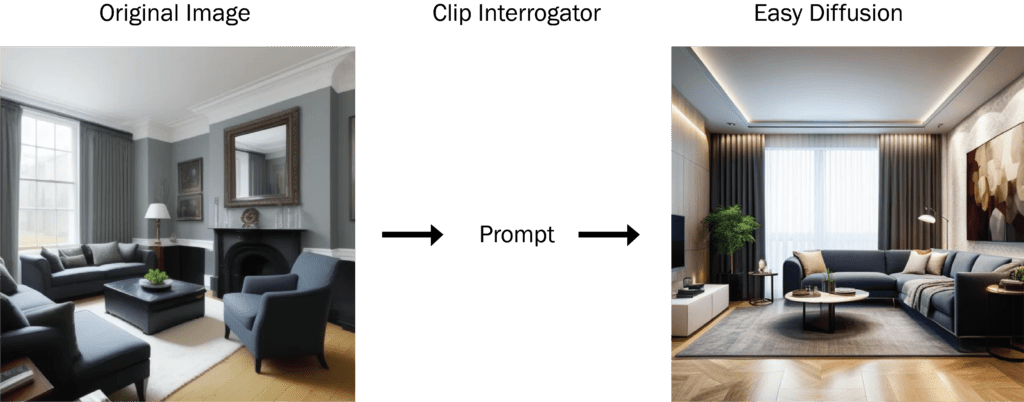
Prompt:
London luxurious interior living room, light walls
Negative prompt:
pink gold
Parameters:
Steps: 20, Sampler: Euler a, CFG scale: 7.0, Seed: 668581889, Size: 512×512
Conclusion
In conclusion, embracing the transformative power of an AI image generator in your design process is a no-brainer. The simplicity and accessibility of this free tool eliminate any potential hurdles or excuses to begin your AI assisted design journey.
Remember, this is only the first step in a thrilling and rewarding adventure. This process can significantly enhance your design results with time and practice, unlocking untold potential and creativity.
So don’t hesitate; take the plunge into AI based design. The tools are at your disposal, and they are eager to amplify your artistic prowess. As the old saying goes, practice makes perfect, and in AI assisted design, you’re on the brink of creating some truly remarkable masterpieces.
Valentin Noves
I'm a versatile leader with broad exposure to projects and procedures and an in-depth understanding of technology services/product development. I have a tremendous passion for working in teams driven to provide remarkable software development services that disrupt the status quo. I am a creative problem solver who is equally comfortable rolling up my sleeves or leading teams with a make-it-happen attitude.
