How to turn any BIM asset into a NFT using the Revit House
Introduction
We’ve previously discussed NFTs and their relationship to the AEC industry in this space, so you may want to look at that introduction before diving into this one. It’s not required, but it will explain some concepts discussed here.
We’ll experiment by turning a BIM model from Revit into a 3D NFT. What’s the use? We’re unsure, but hopefully, this makes for an interesting read. We’ll explore options later!
What we need
To start, we’ll need:
- An asset (in this case, the Revit house or any BIM model you pick)
- A
glTFexporter (we’ll use Leia, our free exporter) - A crypto wallet (we’ll use MetaMask)
- An NFT marketplace (we’ll use OpenSea)
Diving in
Preparing our asset
For our BIM model, we will use the classic Revit house. You can download it here or use your own if you prefer!
To export our model, we’ll use Leia, our custom e-verse exporter, to quickly and easily get a good quality 3D file we can use along with the BIM data our model has.
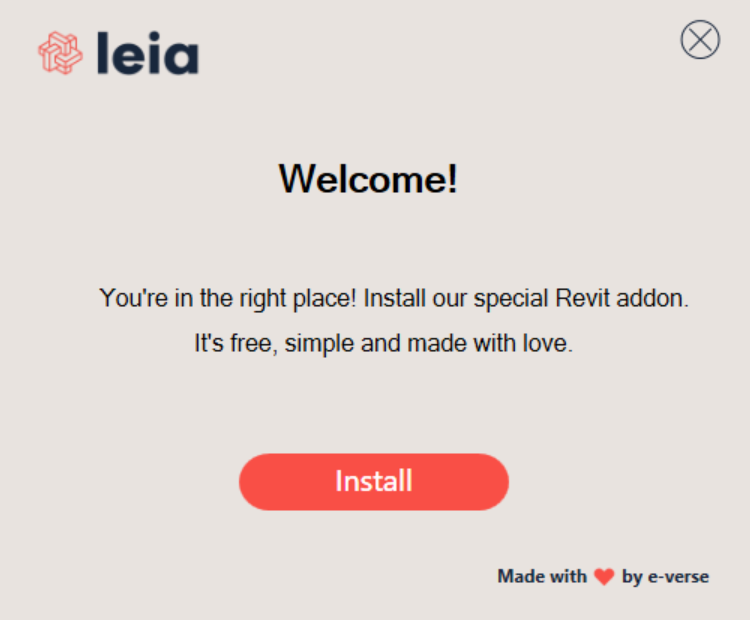
Click this link to learn more about Leia and download it. Basically, we need a BIM project in the glTF format, one of the best formats for 3D interoperability used in many industries, from animation, gaming, or film to architecture and even NFTs. So, using this technology, Leia will allow us to get a high-quality mesh that can also run in a browser and hold BIM data. Sounds promising!
First, we’ll install Leia by opening up the downloaded .exe installer and clicking “Install”. You must agree to the terms and conditions to use it and follow the instructions. It’s simple and compatible with Revit versions 2019 to 2024!
After finishing the process and opening Revit, you should see an e-verse tab in your top ribbon with this button inside:
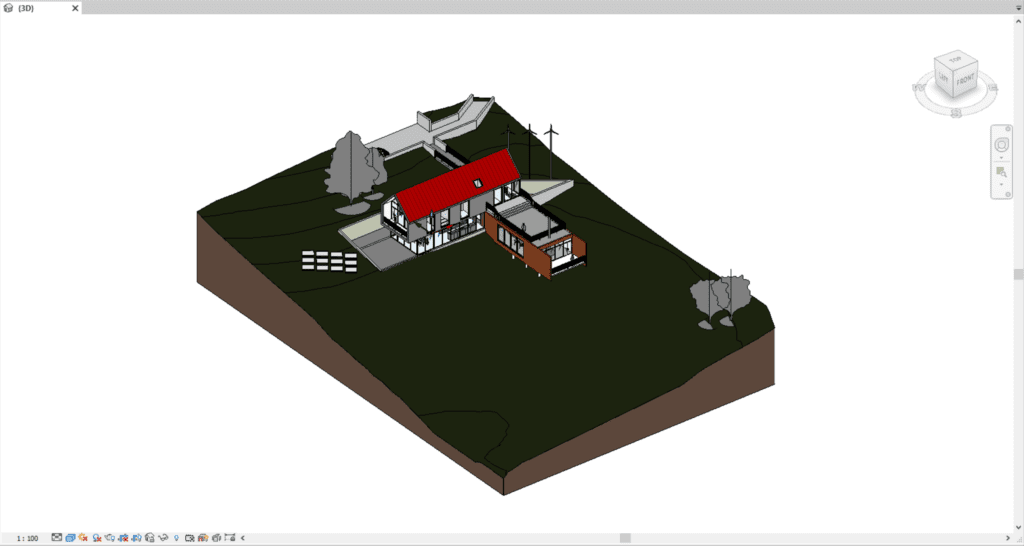
Then, open up the rac_sample_basic_project.rvt file you downloaded or the model you chose. If you used the model provided here, consider it’s a Revit 2022 file, so you can use it in 2022 or any newer version if you upgrade it. It’s also included out of the box with any Revit version.
It looks something like this:
Standing on a 3D view, let’s click the Export button. The Leia settings window should pop up. We’re setting it up as follows:
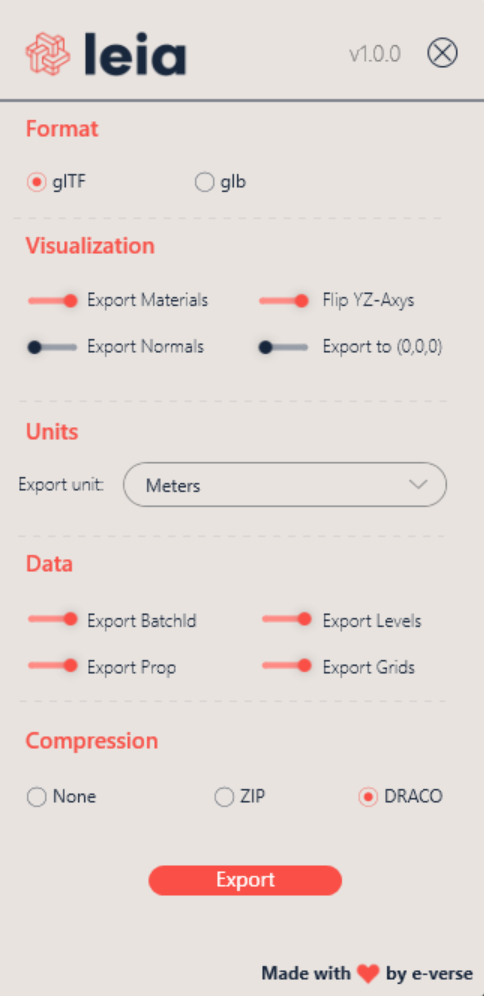
Most of these options are set by default, but an important one we need to use is at the bottom. Toggling on the DRACO compression algorithm will make our export file model more efficient, which is key when working with any blockchain-based use case where we must be careful of file sizes and data efficiency.
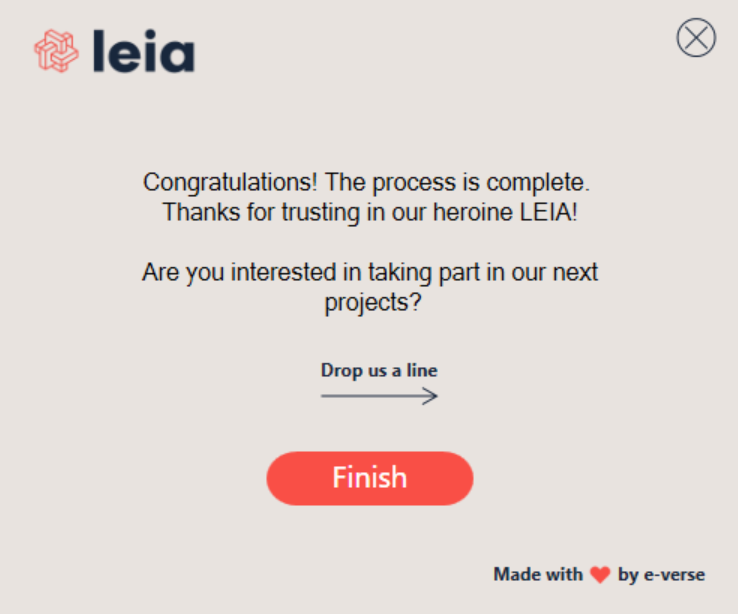
After that, hit Export, choose a folder to save the results, and wait for the process to finish. You should get two files similar to the following:

If you want to view the 3D assets rendered, you can use this web viewer and upload them:
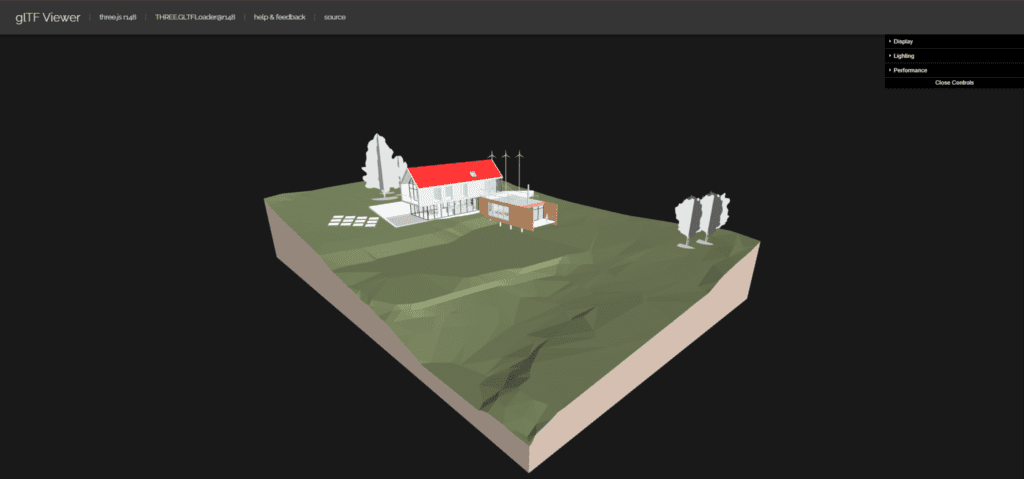
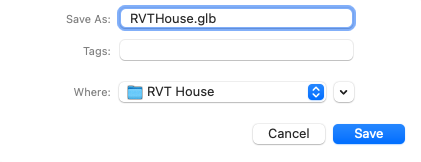
We can see everything looks fine. Our next step is to convert our .gltf + .bin files into a single file with the .glb extension. For this, head her and upload both files. You should get a pop-up to save the resulting file. I’ll name it RVTHouse.glb and save it in a location on my computer:
This is the same model as before, combined into a single file. At this point, our asset should be ready to go!
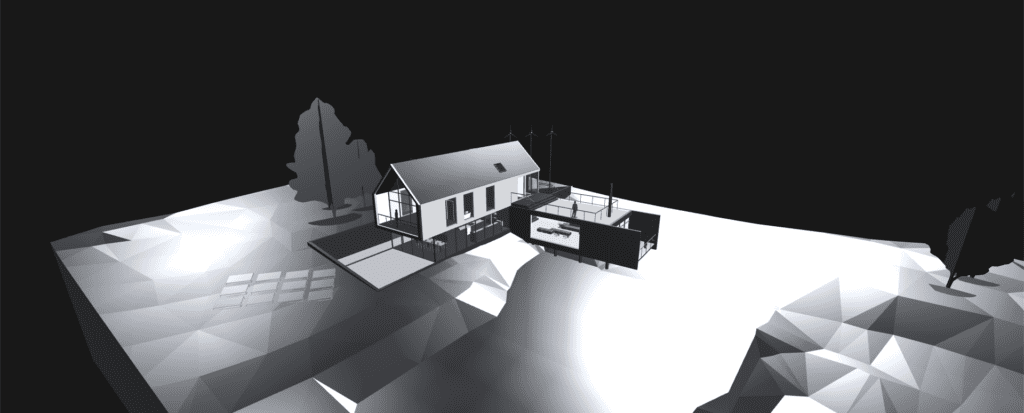
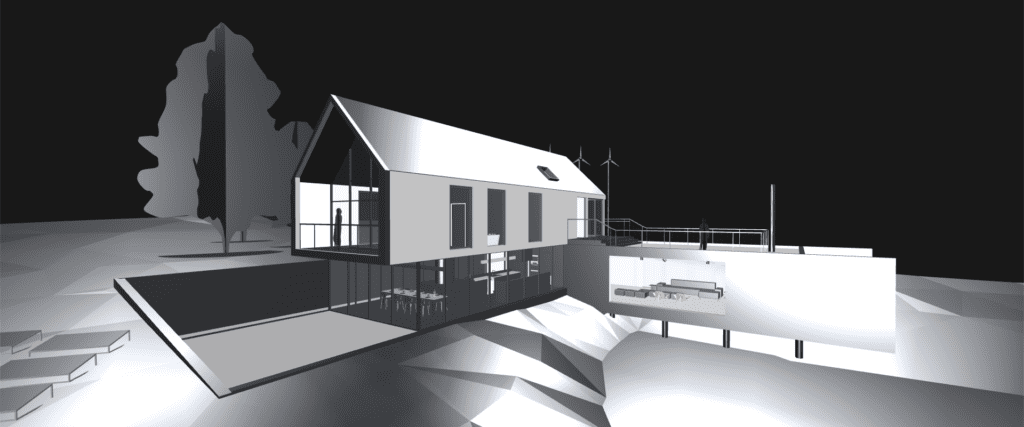
I will cheat a bit from this point on to add a bit more excitement to our asset. I quickly turned our house into a “silver” house and added some lighting in Blender. The idea is to give it a mini-metal sculpture feel:
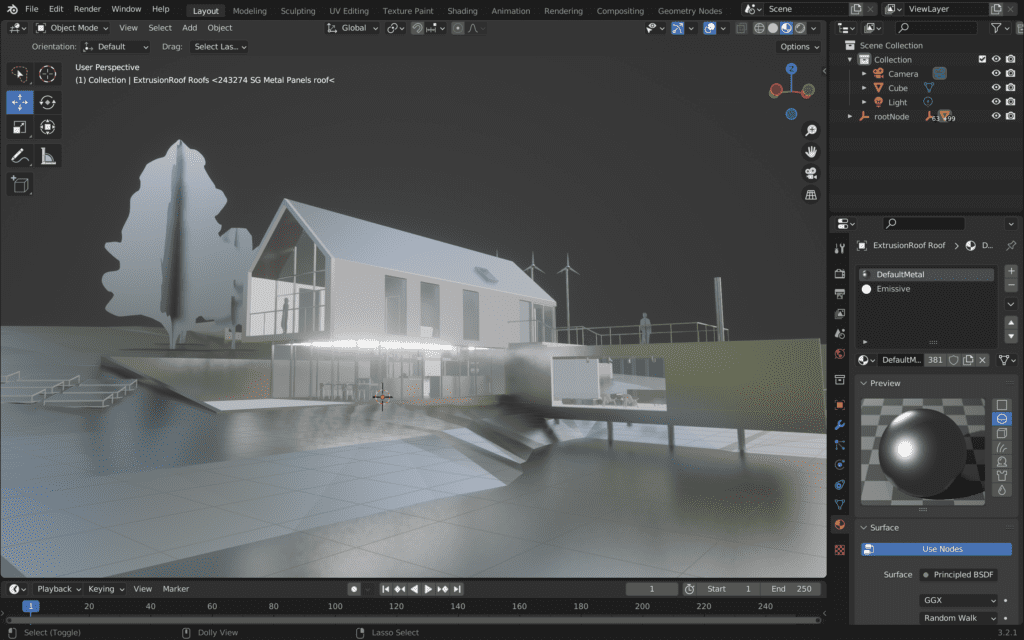
You can personalize it as you prefer or leave it as it is. This is how it looks in the web viewer. It’s not as nice since, in the web realm, we’re playing with more limited resources, and we haven’t spent much time optimizing this one:
Preparing our wallet
First, download MetaMask for Chrome by heading to this link and clicking “Add to Chrome”. You’ll be redirected to this screen after you give it access:
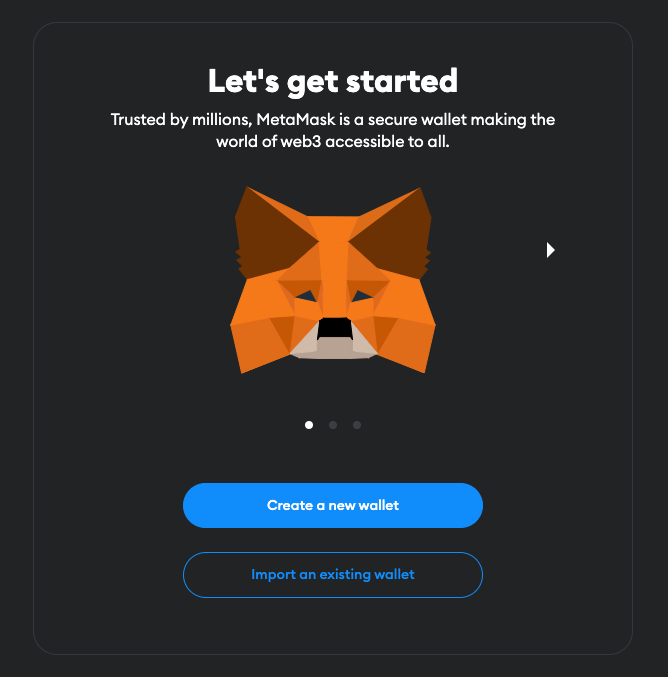
In my case, I have a wallet, but if you don’t, you can click on “Create a new wallet”. You will be asked to create a password that will only serve to unlock MetaMask locally (only on the current machine/browser). After that comes the most important part in terms of security: your secret recovery phrase.
This set of words generated randomly will be the key to your wallet and all the accounts in it. Anyone with your secret recovery phrase can do anything with your funds and assets.
If you’re unfamiliar with this concept, watch the video by MetaMask and follow the security guides in the instructions. Especially if you’re going to use this to secure funds. If these concepts are new to you and you want to learn more, please stop here and look at this article. That is probably the most important concept you need to understand. After that, if you’re following this tutorial and feel unsure, use a “burner” test account with no real funds.
Once you finish, you should see something like this when opening MetaMask in your browser:
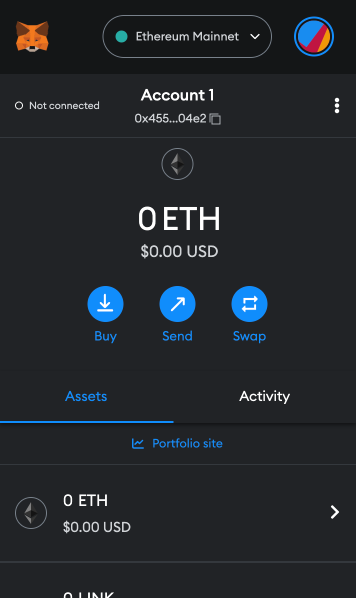
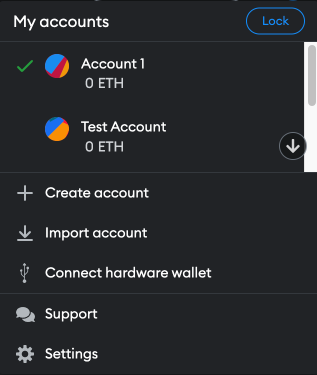
You can create more accounts in the same wallet or import them from other sources by clicking the round icon on the top right. I got a couple of test accounts set up:
We’re ready to use this to connect to portals like OpenSea!
Preparing our OpenSea account
We’ll head to OpenSea and click on the top-right Profile icon. Here, we should see different wallets to connect and use as our log-in:
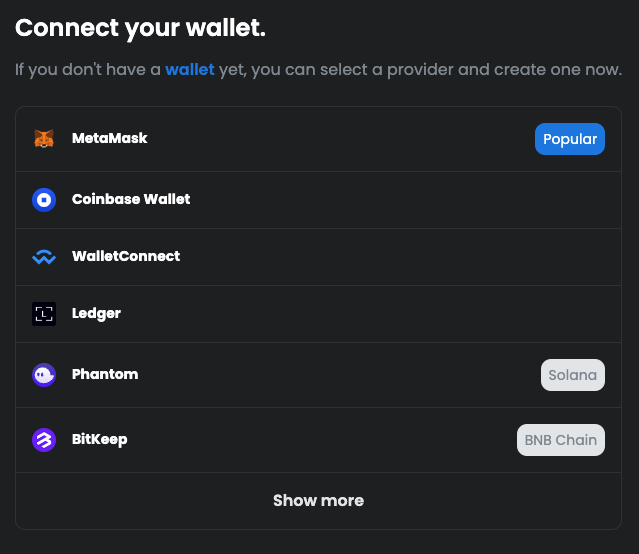
We’ll select MetaMask. This will ask us to connect our wallet to the site and to sign some messages to authorize this. The account you select in MetaMask will be your account in OpenSea, and any other web3 sites you visit and connect to.
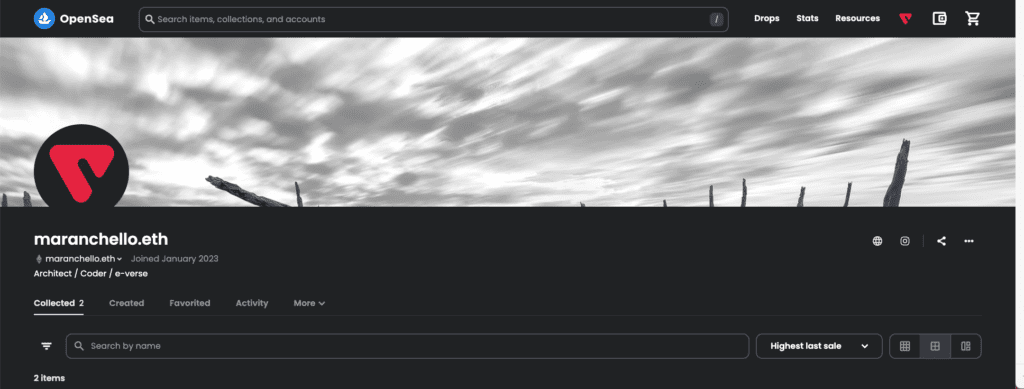
After we’re done with that, we’ll see our profile in OpenSea! In my case, I created a test account that looks like this:
Now we’re ready to use our account in OpenSea to create, buy, and sell NFT 3D models.
Turning our asset into an NFT
As a quick recap, we’ve already created our 3D asset, our crypto wallet, and used that to log in to an NFT marketplace. From here, we just need to put the pieces together.
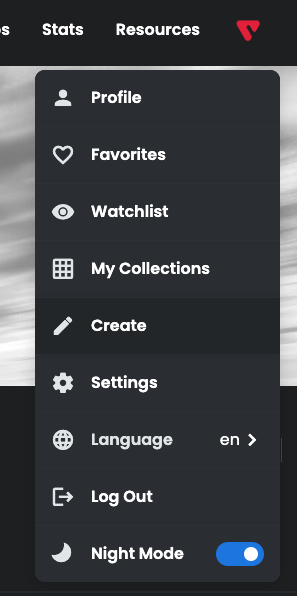
To create our NFT, we’ll start by heading to our profile icon and clicking on Create:
We could also create a Collection, but for now, we will create an individual NFT. Our first step will be to upload our GLB file and a Preview Image for our NFT:ce. From here, we just need to put the pieces together.
To create our NFT, we’ll start by heading to our profile icon and clicking on Create:
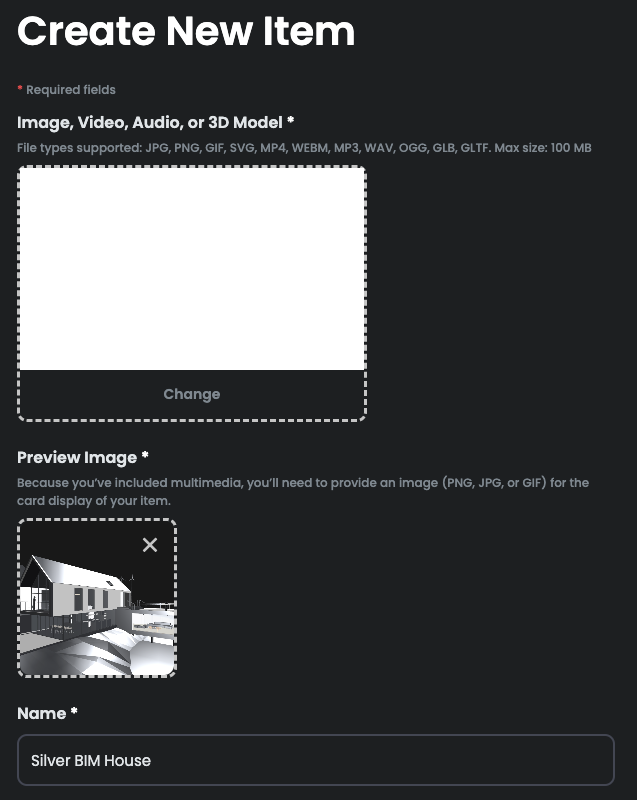
I browsed and uploaded our GLB, and for the preview, I used a screenshot with a first-viewer perspective like the following:
Fill in the rest of your NFT information and characteristics, then click Create. In our case, we used the Ethereum blockchain, however, you can choose from a couple of others supported NFT blockchains.
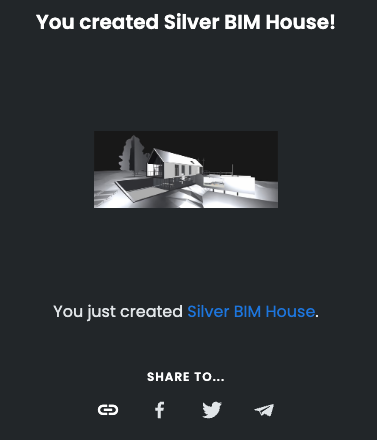
In my case, this is how it looks. I decided to make 10 units of our Silver House. This will be free since OpenSea uses lazy minting, meaning each NFT is created (minted) on the blockchain once it’s sold.

Check out our NFT here.
After you’ve created an item, you can continue to edit it until you freeze its metadata. Once frozen, the content for your item will be moved to decentralized storage, turning it into a real blockchain asset that is not dependent on any specific peer to exist or be secured. When the NFT is actually minted, it becomes a fully decentralized asset on the blockchain, permanently immutable.
Conclusion
We successfully used our e-verse glTF exporter to create a 3D asset from Revit, including all its BIM data and geometry and turned it into a 3D NFT.
An important point to note is that while we don’t have a way to view BIM data on OpenSea (yet?), after moving our NFT to decentralized storage and minting it, our data (for example, BIM parameters) is still present in our asset for anyone to access, living on the blockchain.
This has many interesting applications beyond art-related ones, such as decentralized and transparent version control, keeping track of changes in digital twins over time and for different stakeholders, real estate ownership, and other exciting things.
Try turning your assets into NFTs, and let us know if it works!
References
- https://e-verse.com/blog-build/after-the-hype-nfts-and-the-aec/
- https://metamask.io/
- https://opensea.io/
- https://help.autodesk.com/view/RVT/2023/ENU/?guid=GUID-61EF2F22-3A1F-4317-B925-1E85F138BE88
- https://e-verse.com/learn/what-is-the-gltf-format-a-complete-guide-for-aec-professionals/
- https://gltf-viewer.donmccurdy.com/
- https://glb-packer.glitch.me/
- https://chrome.google.com/webstore/detail/metamask/nkbihfbeogaeaoehlefnkodbefgpgknn
- https://www.ledger.com/academy/basic-basics/2-how-to-own-crypto/whats-a-secret-recovery-phrase
- https://support.opensea.io/hc/en-us/articles/360061699514-Who-pays-the-gas-fees-on-OpenSea
- https://opensea.io/assets/ethereum/0x495f947276749ce646f68ac8c248420045cb7b5e/96086700814256506039828981657739145225936617396791914779418082176938899669002/
- https://support.opensea.io/hc/en-us/articles/1500012270982

Francisco Maranchello
A proactive entrepreneur at heart who constantly seeks new challenges. As an Architect who codes, I have broadened my skill set through a passion for technology and innovation. I believe technology is the future of architecture and the built world. Always learning and leveraging cutting-edge technologies to seek new answers, I bring a holistic approach when facing new challenges.